
Hydra Airgun Pellet Machine Setup
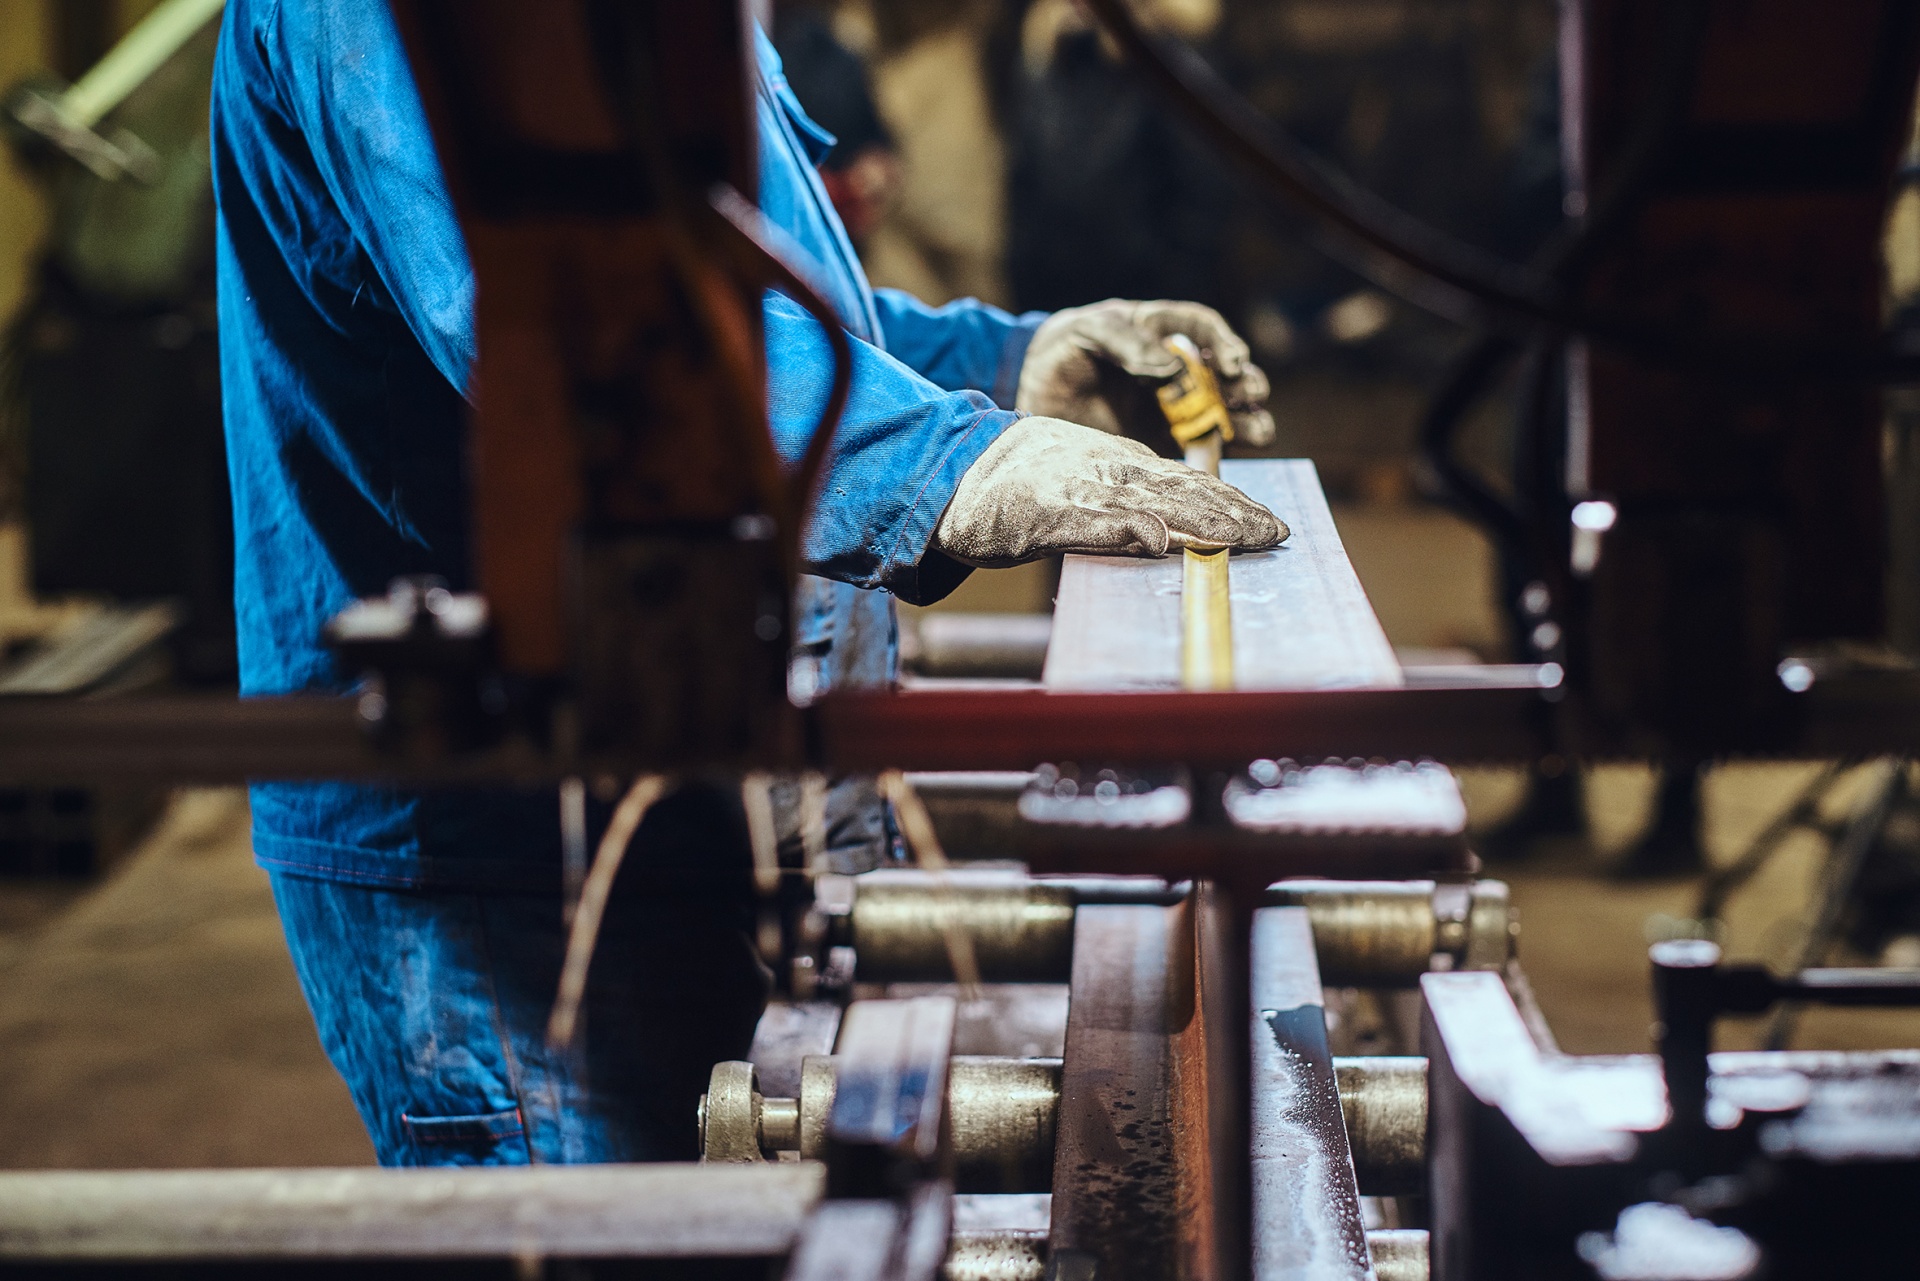
Airgun pellet machine is basicly a swager. A swager has always a wire which is fed with a mechanism, cut to small pieces and swaged in a mold. For airgun pellet swager we have leadwire. We cut down into desired weight of pellet. Pressed with a punch and droped down with a dropper. Each time when we change a mold we need to set up the machine from the beginning. This set up precess is very important as it will affect our product quality and production speed.So we need to adjust the following equipment;
Knife Adjustment: The knife has a half circle form. Also the knife can be moved up/down and right/left with screws. The middle point of the circle must meet the leadwire. Once the leadwire is inside the knife hole check the position of the punch. If centered well tighten the screw.
Punch Rail Adjustment: Leadwire is fed a little bit above the punch. Knife will cut the leadwire and bring it into position where punch can press. So knife must be down when punch is moving forward. Here punch movement is constant and can not be changed. The adjustment will be made by up/down movement of the knife.
Leadwire Feeding Adjustment: We have two different type of wire feeding. The servo feeding the adjustment is done via touch screen and no manual set up needed. For manual feeding once the knife is top position the leadwire bearing must touch feeding circle. This is the right position. You can understand by observing if feeding starts once the knife moves down.
Dropper Adjustment: The mold has four part; top part which forms the head of the pallet, rear punch which forms the wing of the pallet, and right/left molds which forms the body of the pallet. Dropper must move down once the main body molds are open. Just after 3 degree time system will blow pressure air too.
Mold Adjustment: The operator can run the machine with a special handle. This is important to make the adjustments. This handle closes and opens the mold. Once mold it closed it must be tight well. Not too tighten or too loosy. The mold can move right/left and can be adjusted with screwing. This movement is to set up the right tightness. Beside that main body molds can move inside/outside. Here molds must be positioned paralel.
Head Mold Adjustment: This mold part must be tightened once the mold is closed. There is a set on the mold, so put the head mold till it can not move inside and tighten.
Dropper Adjustment: There is a needle which drops the pellet. Here the needle must touch the wing of the pellet. Will not press to much to avoid neddle sign on the product. Must only touch a little bit.
Weight Adjustment: Start from les weight and give more each time. Use only second piece of leadwire for the weight.
Punch Adjustment: Actually this punch is also called wing mold. It forms the rear side of the pellet. Here the depth of the hole inside the pellet is adjusted by moving the punch forward/rear.